This blog is one years old (started on April 3rd), it’s grown incredibly fast, with over 12k views in a year. My twitter follower base has also grown significantly, with now ~250 followers.
Although lately I didn’t really have time to write any articles, I’m planning to write some about voxel rendering soon.
What do you think? What do you want to read about?
Thank you everyone! Have a nice day and stay tuned!
The WordPress.com stats helper monkeys prepared a 2014 annual report for this blog.
Here’s an excerpt:
The concert hall at the Sydney Opera House holds 2,700 people. This blog was viewed about 13,000 times in 2014. If it were a concert at Sydney Opera House, it would take about 5 sold-out performances for that many people to see it.
Tweening (inbe-tween-ing) is the process of generating intermediate states between a start state and an end state. For example, if you drop a ball it won’t immediately stop when it reaches the ground, but it will bounce some until it comes to rest. If you consider the ball’s Y axis position, you can establish a function that describes the ball’s motion from A (your hand) to B (the ground) as a function of time (x). Tweening functions usually take a value between 0 and 1, and output a value usually between 0 and 1.
Tween on!
Types of tweens
There are three types of tween functions:
-in-tweens, that go slow first, then after about x=0.5 they quickly converge to 1.
-out-tweens, that behave the opposite way: move quickly until about x=0.5, then slowly converge to 1
-in-out-tweens, that combine the two: start slow, go fast at around x=0.5, then converge slowly to 1. We also establish a requirement that at x=0.5 f(x)=0.5 should hold.
Defining tween functions
Based on this, we can define the in-tween function as:
y = f(x)
To get the out-tween function from the in-tween, we need to start fast, so we’ll need to flip the time input (x = 1 – x), but this would result in starting with y=1, so we’ll need to flip the overall output too:
y = 1 – f(1 – x)
The in-out-tween function will be the combination of the in and out function, sort of stitching together the two functions at x=0.5.
If x<0.5 then we’ll need the in-tween function. However if we’d use it as-is, we wouldn’t get f(x)=0.5 at x=0.5. So we need to squeeze the function along the x axis, x = 2 * x, and we also need to halve the amplitude, so that at x=0.5 f(x)=0.5.
If x>=0.5 then we’ll need the out-function. Again, we’ll need to modify it to get the desired output: continuity at x=0.5, slow convergence to y=1. Therefore we need to start with x=0: x = x – 0.5, and again squeeze the function along the x axis: x = (x – 0.5) * 2. Then we need to halve the amplitude f(x) = f(x) * 0.5, and add 0.5 to it to have it start at 0.5.
Putting it together this is how the generic in-out function will look like:
if( x < 0.5 )
{
y = f( x * 2 ) * 0.5;
}
else
{
y = ( 1 – f( 1 – ((x – 0.5) * 2) ) ) * 0.5 + 0.5;
}
Using the generic tween definition to create tweening functions
We can start with a linear function:
f(x) = x
Linear tween function
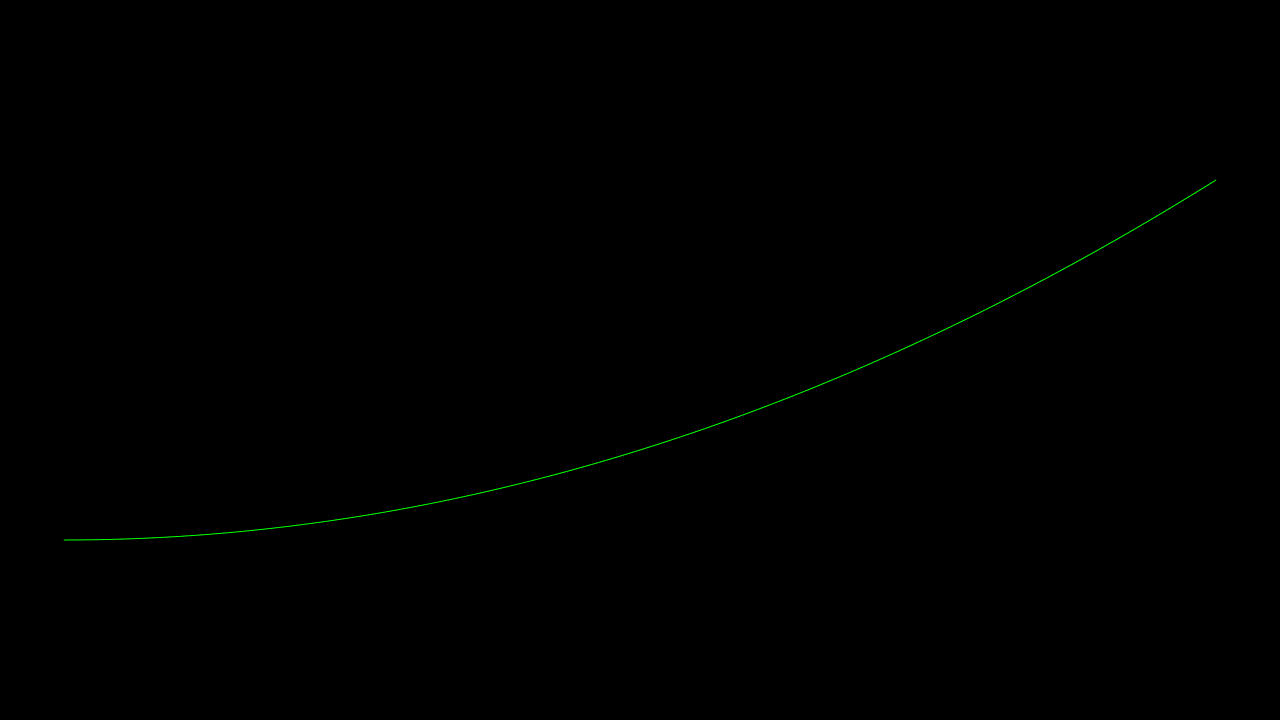
Then move to higher order functions, such as a quadratic one:
f(x) = x * x
Quadratic tween function
Of course you can create the out and in-out versions of these using the definitions.
Quadratic out-function
Quadratic in-out function
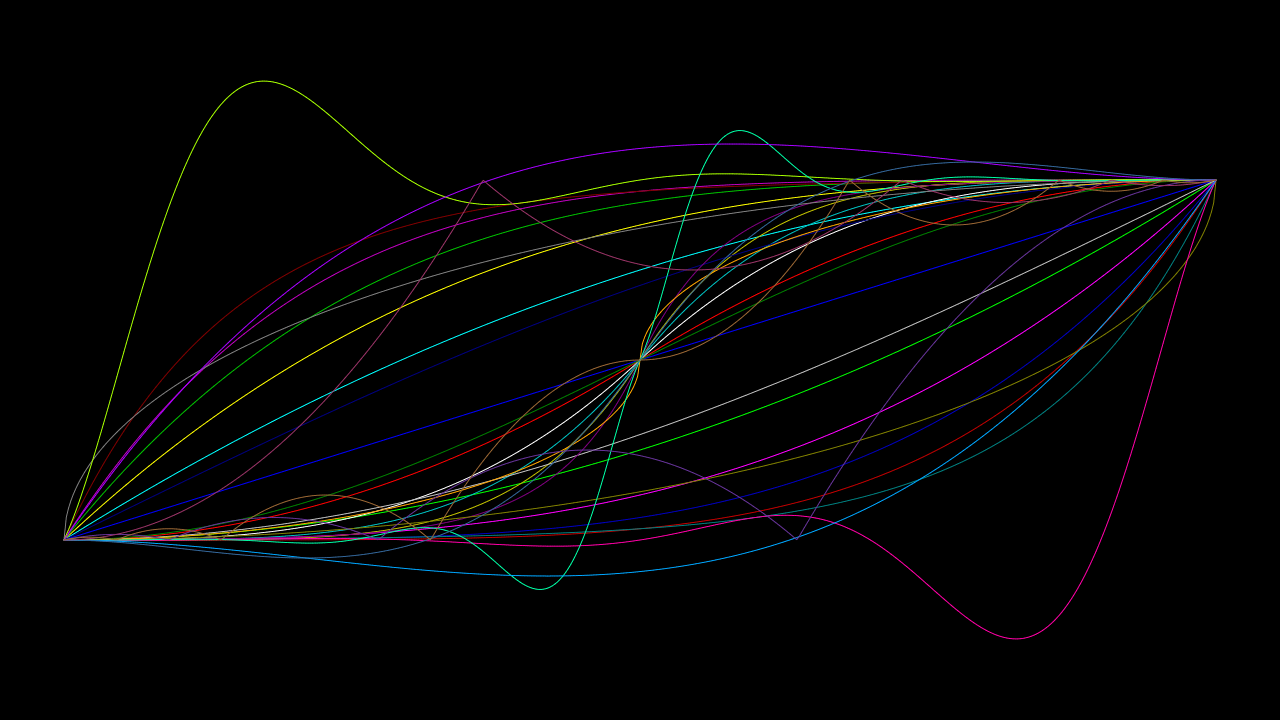
Note that you can also use generic splines and curves to create custom tween functions, but that’s a whole another story.
I’ve been thinking about experimenting with physically based rendering for a long time, but at first I didn’t want to write any code. So I turned to the Blender Cycles path tracer. Cycles is great because it should give the “ground truth” path traced solution, so later I can see how close I got to that. However, simply importing a model doesn’t give you nice results outright, you have to set up the materials. I also read a lot about PBR from mainly here: http://interplayoflight.wordpress.com/2013/12/30/readings-on-physically-based-rendering/
But where do I get PBR assets from?
Physically based rendering is great because it simpifies the asset creation process, and it makes it difficult for the artists to create unrealistic results. It is usually paired with a streamlined asset creation pipeline, with all the reference materials and the like.
But I don’t have these, so I set out to search for PBR assets that one can use without paying artists to create them.
Disable importance sampling for ALL your lights, as they cause “black lines” artifacts.
Cameras:
Use NO depth of field for the camera.
Memory considerations:
OpenCL allows up to 576MB of allocatable Buffer Size (clCreateBuffer) on my 1GB video card, so make sure you don’t go over that!
Reduce texture sizes if needed (I used 2k)
This made sure that on my HD 7770 I got around 40 second render time for a frame. However the image wasn’t at all noise-free. If I set the render settings to the “final” preset with “full global illumination” I got around 5-8 minutes of render time per frame.
With all these optimizations a 1.5 minute movie still took 2 days to render.
Steps to set up PBR in Blender Cycles
1) add a diffuse shader as seen on the graph image
Diffuse only
Shader Graph for diffuse
2) add the normal map as non-color texture (tangent space) and set it up like in the graph image. Note that for Cycles you don’t need to do normal map filtering, as path tracing should do that automatically for you (by taking more samples)
Diffuse with normal mapping
Graph for diffuse and normal mapping
3) add diffuse texture
Diffuse texture with normal mapping
Graph for diffuse texture and normal mapping
4) add ambient occlusion and mix it with the diffuse output. Note that it is possible to go without the AO, as the path tracer should do this anyways, but I included it to get the same look as in the original video/images.
Diffuse and Normal mixed with Ambient Occlusion
Graph for diffuse normal ambient occlusion
5) mix diffuse with metalness to get proper diffuse colors. Perfectly specular materials should have their diffuse color set to zero. So high metalness should result in dark diffuse colors.
Diffuse combined with metalness
Graph for diffuse combined with ambient occlusion
6) add specular shader
Diffuse shader with Specular added
Graph for diffuse specular
7) set up the normals for the specular shader
Diffuse + Specular + Normal mapping
Graph for diffuse + specular + normal
8) set up roughness for the specular shader with remapping. Note that you can remap the roughness to any range as needed, I used this range, as it looked mostly right.
10) mix with metalness to achieve dark specular in places specular shouldn’t be. I also hacked it a bit, so that the image is closer to the reference image.
Specular color mixed with metalness
Graph for Specular color combined with metalness
The End result
In conclusion, I think I got really close to the reference images. Of course different lighting will resulted in a different image, but this is one of the best things about PBR, no matter what lighting you use, it will always look good.
Note that with PBR I think there’s no “incorrect” material, it’s just different. So with different values you may get a plastic look instead of aluminium, but it will at least look like a nice plastic material.
In 2010, when I started developing my custom homebrew game engine called “Linux Game Engine” (lge for short) I didn’t really know much about engine development. However, I did have some ideas about what was wrong back then with all the game engines of that time.
I observed the following: whenever I played around with a game engine, there were several occasions when one had to wait for the tool to do some background number crunching, like baking lightmaps or generating paths for pathfinding. This observation was based on Unreal Engine 3 and Cryengine 2, two of the biggest engines of that time.
Therefore the goal emerged: write a game engine that is truly WYSIWYG meaning no compromises in quality, plus no loading or number crunching time, as fast iteration on content as possible (all this in an AAA context).
So the goal in today’s terms was to basically write a Cryengine 3, Unreal Engine 4 and Unity 4/5 mix, combine the strengths of all of them. This seemed to be impossible even back then, but as I didn’t have any projects to improve my coding skills on, I decided to begin developing the engine. Therefore the engine developed and improved as I did, and there were at least 3-4 compelete rewrites until I got some of the things right.
The engine was meant to be a tool with which one could develop a FPS easily (without the intent to make an actual FPS game, that alone is way too much effort). Of course, later I discovered that I can actually write most of the engine agnostic to what genre the game will be.
So going back to the present, now most of the game engines try to achieve as little iteration times as possible, Cryengine 3 includes WYSIWYP, Unreal Engine 4’s global illumination solver has been redesigned to be much faster. Unity 5 includes Enlighten which is pretty much realtime, therefore we could say my predictions (or goals) were correct at the time.
In conclusion, if you ever embark on writing a game engine, you should always consider that it will be somewhat “ready” 4-5 years later, and you’d have to predict what the technology will be at that time, develop the engine with the future in mind. Of course this is impossible most of the time.